Showing posts sorted by relevance for query vinegar cheese. Sort by date Show all posts

Sunday, August 21, 2011

More Fun With Milk

Little Miss Muffet
Sat on a tuffet,
Eating her curds and whey. . .
 
Here's a fun bit of kitchen chemistry that you can do to produce your own curds and whey.

Call it panir or queso blanco or vinegar cheese -- this is the quickest, simplest cheese imaginable.

Heat a gallon of milk to 190 F (just short of a boil.) Off heat; add a half cup of vinegar or lemon juice. Almost immediately the milk will separate into curds and whey.

Let the curds and whey cool a bit, then spoon the curds into a colander lined with cheesecloth ( or a white handkerchief.) The whey can be saved and used in cooking or, as I do, to moisten the dogs' kibble.

Add a teaspoon of salt to the curds, You can also add a little cream and whatever herbs or spices appeal to you. For this batch I used some herbs de Provence. Chives would be nice; Justin once made a batch using tarragon vinegar and it was wonderful!

Vinegar cheese is mild --- some might say bland. I find it delicious.  You can stir it into pasta or use it in cooking but be aware that it doesn't actually melt -- not a great pizza topping. It keeps about a week in the refrigerator.
 

Posted by Picasa

Thursday, July 23, 2015

Tomato Time!


Oh, yes! The tomatoes are ripening and we are feasting!


Those big green-topped beauties are the Cherokee Purples and there was one just right for making BLTs -- our summertime favorite.


An assortment -- San Marzanos, Cherries, and Yellow Pears -- set me to thinking of Tomato Pie and I went to a recipe from Garden and Gun.  

Oh. My. Goodness. It was WONDERFUL! We ate half for supper and will be enjoying the rest for lunch today.


Here's the recipe.(Of course, I made a few changes)

4  shallots, minced  (I used a medium sized onion, not having shallots on hand) 
3  garlic cloves, minced
4  tbsp. extra virgin olive oil, divided
1  tbsp. Dijon mustard
9-inch pie shell (See below)
1  lb. assorted heirloom tomatoes, sliced ¼-inch thick
3  oz. goat cheese, crumbled  (I used mozzarella as Himself doesn't like goat cheese)
½  oz. fresh basil chiffonade
1  tbsp. Grenache vinegar (I have no idea what this is -- I used balsamic vinegar)
½  cup fresh bread crumbs ( I almost used bread crumbs out of a can but I tore up a fresh ciabatta and was glad I did-- fresh makes a difference.)
1  oz. grated Parmesan cheese (NOT the stuff in the green shaker.  I used a bit more, since I wasn't using the goat cheese.)
Salt and pepper
Preparation
Preheat oven to 400 degrees.
In a small pan, sauté shallots (or onion) and garlic in 1 tablespoon of olive oil until tender, about 3 minutes. Stir in mustard, and set aside.
Place pastry shell in a 9-inch pie dish.  Sprinkle some of the Parmesan on the bottom. Layer in half of the tomatoes, and season with salt and pepper; spread shallot (or onion)   mixture over top. Add goat cheese ( or mozzarella) and half of the basil, distributing evenly. Layer in remaining tomatoes, and season with salt and pepper. Drizzle 1 tablespoon each of olive oil and vinegar over the tomatoes; top with remaining basil.
In a small bowl, combine bread crumbs, remaining 2 tablespoons of olive oil, and Parmesan cheese. Sprinkle evenly over tomato filling.   
Bake 30 minutes, or until topping and crust are golden brown.

PIE CRUST

It REALLY is  worth the trouble to make your own. I've employed several tricks to make it easier. One is to use a piece of parchment paper sprinkled with flour to roll out the pastry on. Another (and I'm almost embarrassed to tell it) is to use the recipe for a two crust pie, even though you need only one crust. The extra dough will give you plenty of overhand to make a pinched edge  and I found that even though I left the pastry a bit thicker, it was delicious and amazingly flaky.

2 cups flour
1/2 teaspoon sea salt
2/3 cup) vegetable shortening (e.g. Crisco)
A scant 1/3 cup vodka with an ice cube to cool it (trust me, this works SO much better than water to keep the pastry tender

Preheat oven to 400 degrees.

Add the salt to the flour and cut in the shortening with a pastry blender or two  knives. When the mixture looks like coarse meal, sprinkle on the cold vodka, a tablespoon at a time and blend in with a fork. Continue till the mixture begins to hold together and you can form it into a ball. You may need to add a bit more liquid, at this point cold water is fine. 

Roll out the pastry and line your 9 or 10 inch pie pan. (You may have more than you need - bake the scraps with a little sugar sprinkled on them for a sweet treat.)  Prick the crust all over the bottom with a fork and bake (unfilled) for about ten minutes. This pre-baking keeps the rust from getting soggy on the bottom.


Tuesday, May 29, 2012

Tarragon Vinegar


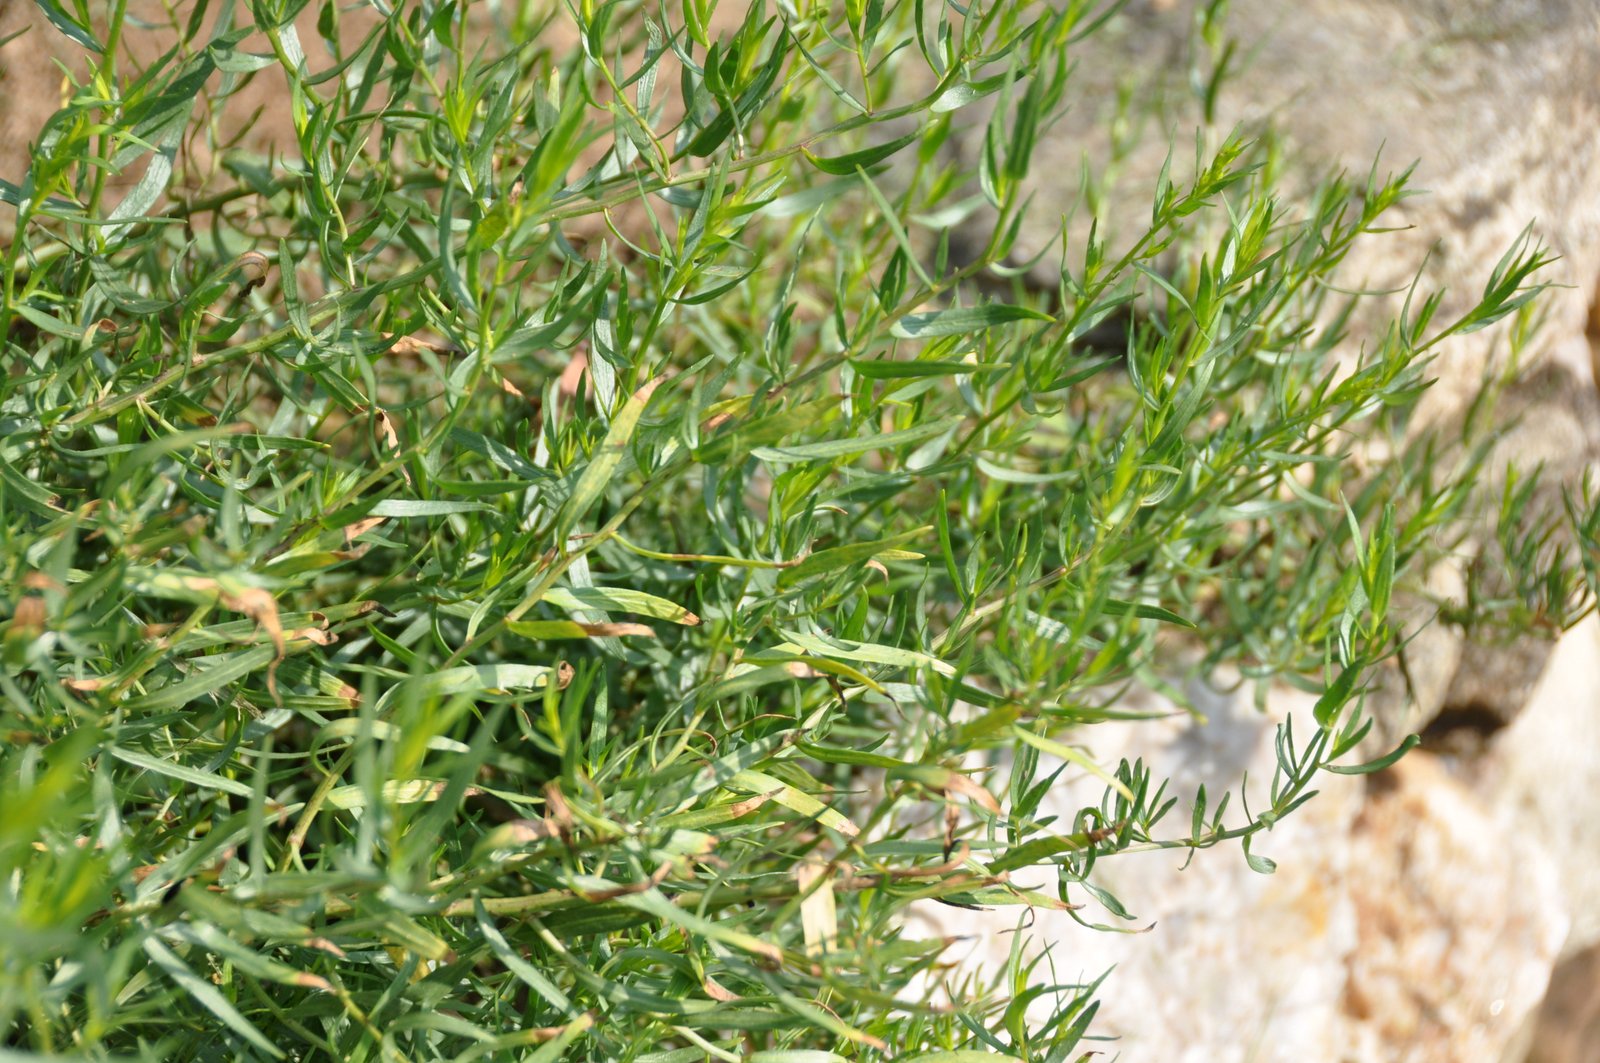
The tarragon (far left atop the wall) was sprawling all over the place.

So I pruned it and jammed the branches into a gallon jar. I filled the jar with cider vinegar,
 and set it in the sun.  (If it had been rainy, I could have heated the vinegar a bit before putting it in the jar.).

After a few days, I strained the infused vinegar and poured it into bottles, in which I'd put a few peeled garlic cloves and a bit of fresh-picked tarragon for looks.

Tarragon vinegar is nice in a vinaigrette and works well in potato salad.

I plan to use it to make vinegar cheese. Check out the process HERE.
 
Posted by Picasa

Saturday, April 20, 2024

Pickled Onions


I was planning on a no-meat supper--field peas on rice with greens and a kind of corn cake on the side. But it just wasn't inspiring me till I thought of pickled onions--a perfect taste accompaniment as well as a nice shot of bold color to jazz up the meal.
                                                                             

And they're quick and easy to make. Do a bit ahead so they can spend an hour or so in the fridge. 

Here's how:

1 red onion
1/2 c cider vinegar (or rice vinegar)
1/2 cup water
1 tsp salt
2 tsp sugar (or honey)


Slice the onion very thinly and shove slices into a glass jar (I used a quart size.) Combine the other ingredients in a small saucepan and heat till salt and sugar are dissolved. Take a taste and adjust the salt/sugar to suit your own taste. Pour heated liquid into jar, making sure onions are covered. Refrigerate at least an hour. Keeps about three weeks. 

I can eat this right out of the jar. Or on cottage cheese or in a cheese sandwich or on a burger or a taco. 

I could probably eat it on vanilla ice cream.
                                                                                           

Monday, July 2, 2018

Best Garden Ever!


Or at least, our best garden in quite a while. And me still without my camera. 
 

No matter. One squash looks much like another. 

Anyway, I went down early to tie up the tomatoes and see what was ready to be harvested.  There were 3 almost ripe San Marzano tomatoes, 2 heads of broccoli, collards and kale, and a maybe half a gallon of green beans. 


There were also at least a dozen lovely long cucumbers  and more yellow squash and zucchini than John wants to see on the table. But to soften the blow, I put some bacon in the squash, tomato, onion, cheese, and basil casserole I made for dinner.


Lots of cucumbers. So I made a big bowl of one of my favorites summer sides -- cukes and onions in rice vinegar and sesame oil,

We have been blessed with plenty of rain and enough sunshine to energize the vegetables. There are even some peppers almost ready for picking. The corn is beginning to tassel and probably there are some new potatoes but I haven't looked. 


The heat is daunting -- I was out from about 8 till 10. At first there was still a bit of mist that kept things moderate but when that burned off -- yikes! Time to go to the house and deal with the day's harvest.


What a joy when the garden behaves as one hopes. Of course, I say this, knocking on wood and realizing that at any moment the tomato blight may strike, the cows may eat the corn, the deer may decide to ignore the electric netting and the bean beetles may find the beans.


But for one brief shining moment -- what a joy!


Monday, November 25, 2013

Roasted Onion Oil


Three ingredients to make a delicious olive oil perfect for vinaigrette, dipping, sauteing, or...

Extra virgin olive oil (though plain old slutty olive oil would work too,) yellow onions (Vidalia-type sweet onions are too mild,) and Jane's Krazy Salt (sea salt would be just fine) are all you need.
 

Slice the onions, put them in a shallow pan with about a half an inch of olive oil, flip the slices to make sure they're well-coated, sprinkle with salt. Put in a 350 degree F oven for about an hour till they are beginning to brown and smell wonderful.


Let cool a bit then strain.  The roasted onions will be good in a quiche, on a pizza, in soup, on bruschetta . . .

The oil, combined with basalmic vinegar and a little salt, makes a delicious, rich vinaigrette -- perfect for a plain green salad, incredible when you add fresh fruit (pears, for example,) nuts (pecans or almonds,) and gorgonzola or goat cheese to that salad.


Two big cooking trays and four onions yielded about a quart and a half of oil.  The oil is a little cloudy -- that's the flavor -- and it keeps unrefrigerated for several weeks. Of course you can refrigerate it but we tend to use it up fairly quickly.

This was a serendipitous discovery when I was roasting onions for some recipe or other and decided to try the residual oil on a salad. 
 
Posted by Picasa